

(with the charm of 25+ years old web design… :)
I am describing here one possibility to mount the DTL-electrode. This is not meant to be the last word on it, but its the current state after a decade of experience in my lab.
We nearly never use local anaesthetic. The slight foreign-body feeling wanes through the experiment, and local anaesthetic incurs the danger that the patient may hurt themselves, since the pain reflex is shut down.
We started using DTL fibres for the pattern ERG, but now also use it for luminance ERG. The electrode is inserted before dark adaptation, and the patient is counselled not to rub it out of the eye during the waiting period.
We should be thankful to the carpeting industry that they tackled the electrostatic charge problems that can arise with carpets made from plastic fibres. A metal-coated fibre was developed, which removes charges when weaved into the carpet due to its good electrical conducting properties. Just by chance this fibre is also well suited to record retinal potentials from the cornea. This was first discovered by Dawson, Trick & Litzkow in 1979, hence the name. Advantages of DTL-electrodes include:
| DTL-Montage, Principle | |
The very details of how you mount the electrode is less important than to do it identically every time. The figure shows too loose electrode insertion on the right; here it is likely that the fibre will roam around after blinks. Ideally, the fibre should not be so taut to cause irritation, but taut enough to avoid deep submersion in the lower lid. | 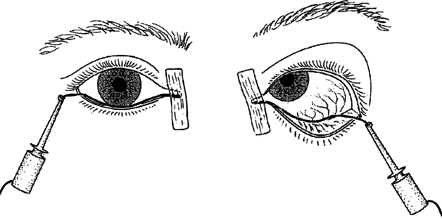 |
| Electrode Preparation | |
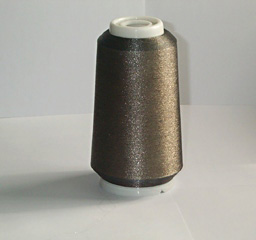 That's our spool with 80 kilometers of fibre (maybe 79 km by now). As the manufacturer Statex tells us, this fibre called “Ex-Stat-Garn 22/1 dtex” consists of single-strand silver-coated nylon. There is also multistrand fibre available, but in our hands the single strand proved much better. | 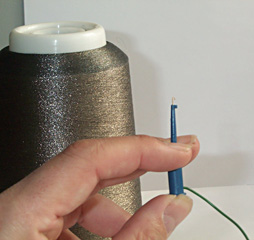 Next to the spool the blue micro-crocodile clip can be seen with the hook protruding from its tip. |
 From the spool we take samples which are wrapped around cardboard and gas-sterilised. Here a few turns of fibre can be seen – or not, as the fibre is very thin. |  The floating end of the fibre is caught with a red micro-crocodile clip. |
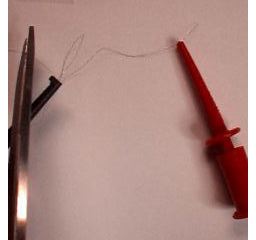 Caught the other end too, now cut an appropriate length (here experience is called for, I think 4 fingers are fine). | 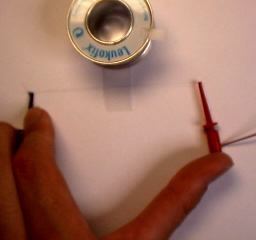 Now we place it on sticky tape (sunny side up). The spool only serves as holder for the sticky tape. |
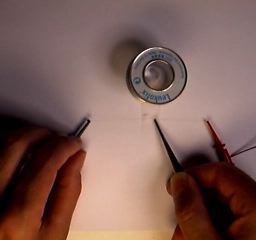 We press the fibre on the tape, and sandwich the fibre underneath another tiny strip of tape. | 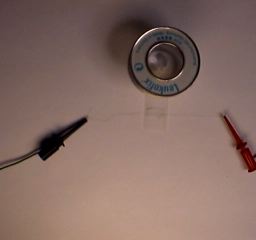 Now the electrode pair is fully taped. |
| 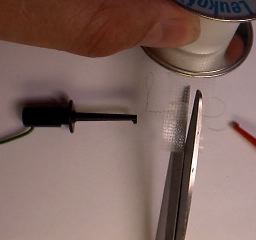 With a single snip we create two electrodes. Always test the DTL conductivity! Occasionally there are “bad runs” in the spool – up to 1 m with intermittant contact problems, then it's fine again. Too bad should you discover this when it's in the eye already. |
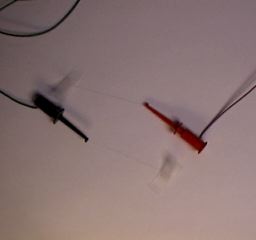 | Here lies a pair of electrodes, and can't wait to be used... The fibre is very thin indeed. There is only a hint of it to be seen, e.g. between the tape and directly above the black clip on the left or below the red clip on the right. |
| Mounting of the DTL-Electrodes | |
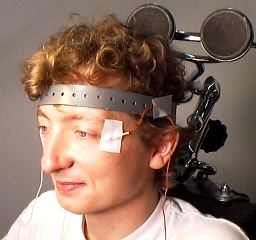 Our subject already wears the temporal reference electrodes. | 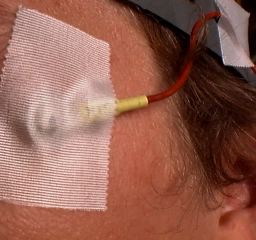 A blow-up up the reference electrode. |
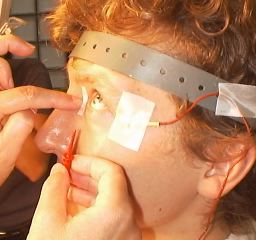 We start on the DTL by fixing the sticky tape nasally. Ideally, the tape should end up in a position that the fibre starts exactly in the middle of the lid angle. | 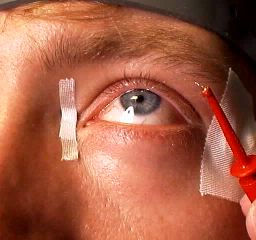 Look up! Now the fibre is run temporally. |
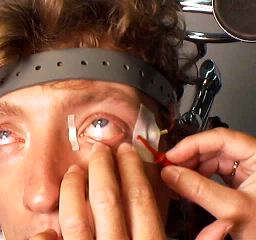 When placing the micro croco we find that the fibre is a bit long. No problem: loosen the grip of the croco clip and pull the end of the fibre slightly (not shown). | 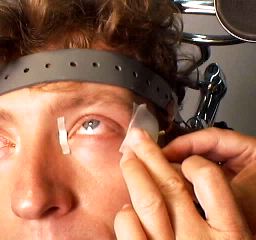 Tape above the croco clip. |
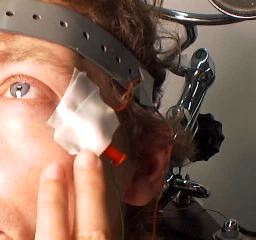 The rear end of the croco clip has some distance from the skin, that's normal. | 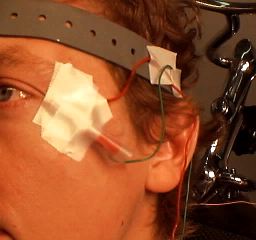 The floating end of the croco clip is held in place by a raised flap of transparent tape. |
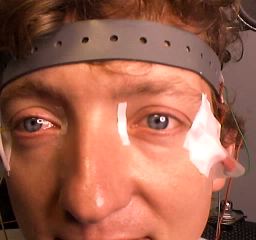 | Voilà a happy subject! The other eye also has an electrode in place. After placing a ground electrode anywhere (e.g. an earclip) the recording session can begin. |
The first version of this page was published in April 1998.
©1998–2020 Michael Bach.